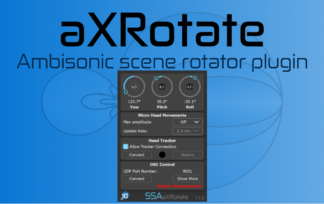
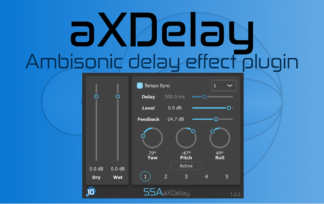
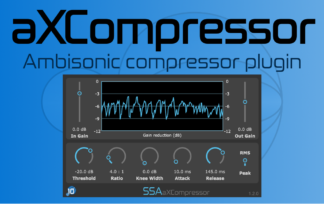
Steinberg’s Cubase Pro and Nuendo have supported up to third-order Ambisonics for a while now and I’m happy to finally add both DAWs to my Compatible Hosts list!
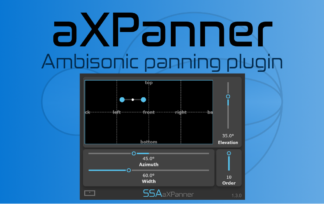
Most of the plugins already worked as Insert effects in Cubase and Nuendo Ambisonics tracks/buses. In the newest versions I have improved the integration of aXPanner and aXMonitor so that they can be loaded in the panner slot. This makes working with the aXPlugins in Cubase and Nuendo that little bit easier and more pleasant.
Now that these two plugins are fully compatible with Cubase/Nuendo Ambisonics tracks you can use the full aXPlugins chain from panning to playback in the most convenient possible way.
Adding aXPanner To A Track
You’ve recorded your session with a mixture of Ambisonic microphones and some mono or stereo spot mics. You want to convert the spot mics to Ambisonics to place them spatially in your scene. Doing this in Cubase and Nuendo with aXPanner is really easy:
- Import your audio file to a mono/stereotrack.
- Add a Group Track and set the Configuration to whatever Ambisonic order you are working with. Pick third-order Ambisonics for the best spatial resolution.
- Click on Edit Channel Settings on your mono/stereo track. Change the Output to send to the Ambisonic Group Track that you made.
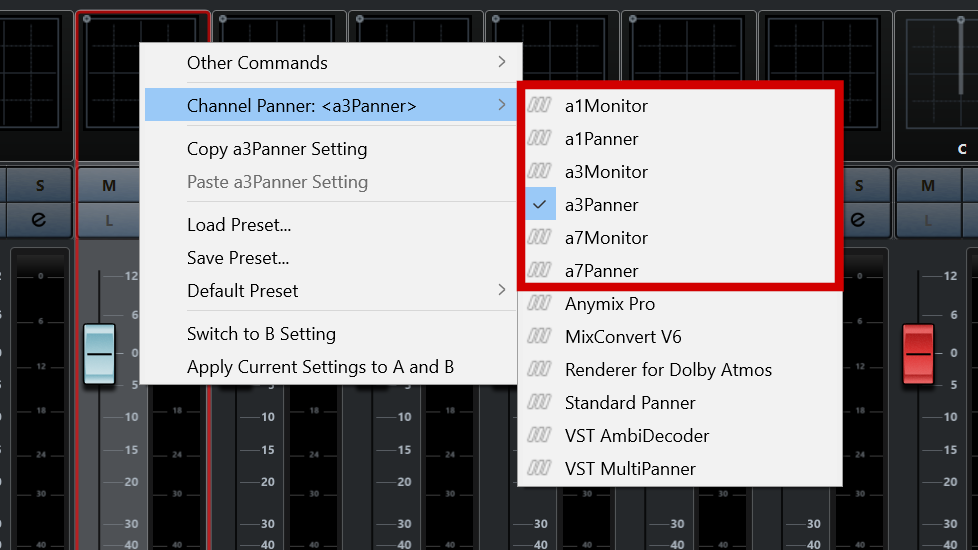
- Now look at the Fader of the mono/stereo track and right-click on the Channel Panner area. A menu will open that has a list of all the compatible spatial panners. Select the aXPanner that supports the order of the Ambisonic Group Track. For example, if your Ambisonic Group Track is first-order then you can add the a1, a3 or a7Panner. If you selected third-order then you will need to use the a3 or a7Panner.
- That’s it! Now you can open the plugin and start panning to perfection!
But with Ambisonics, panning is only half of the setup. We can’t listen directly to the Ambisonically encoded tracks. We need to decode it. Thankfully, that’s even easier than setting up the panner.
Adding aXMonitor For Decoding
Now that you have your Ambisonic tracks (recorded or encoded/panned) you’re going to want to listen to them. The aXMonitor is here just for that.
- Click on Edit Channel Settings on your Ambisonic trakc. Change the Output to send to the stereo output of your audio interface.
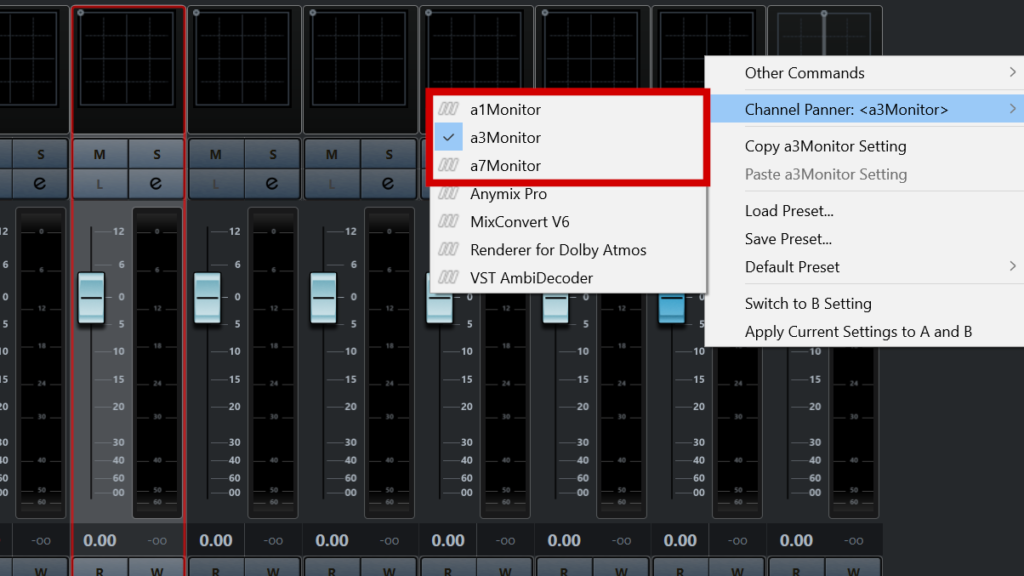
- On your Ambisonic track go to the Fader. Right click on the Channel Panner area of the plugin. As with the aXPanner you will see a list of possible plugins to add – including the aXMonitor!
- Select the aXMonitor that supports the ambisonic order of the track. For example, if your track is first-order then the a1, a3 and a7Monitor will all be able to decode the signal. If you are using a second- or third-order track then you will need to use the a3 or a7Monitor.
- That’s it! Now you can load you favourite/personalised SOFA file and listen in binaural!
A word about the processing order
The a1 and a3 versions of all plugins will work as intended in Cubase/Nuendo – you’ll get (up to) first and third-order processing respectively. All you need to do is add them to the tracks, as above.
The a7 versions of the plugins allow up to seventh-order processing but only if the DAW allows it. For the moment Cubase and Nuendo Ambisonics tracks are limited to a maximum of third-order (16 channels per track). The good news is that the VST3 format is run by Steinberg and it recently added native support for seventh-order Ambisonics! That means that hopefully in the near future we’ll see this work its way through to Cubase and Nuendo.
So, if you are a Cubase or Nuendo user you can add the aXPlugin suite to your tools for mixing Ambisonics and know that you’re getting a tight integration with your DAW. I would love to hear what you do with them, so please get in touch!

